If you’re like me, you tend to have multiple servers that process jobs for your Laravel project, however, checking logs on each server can be a hassle.
I was looking for a solution to centralize my logs, and I found BetterStack (formerly Logtail) to be a great option and is generous with their free tier. As of writing, their free tier allows 3 GB worth of logs retained for 3 days.
This blog post is not sponsored, but I wanted to share how I set it up as it was a bit tricky to find the right documentation.
Installing the BetterStack Channel in Laravel
You’ll need to add the betterstack/logtail package to your Laravel project. You can do this by running:
composer require betterstack/logtailOnce this packaged is installed, you’ll need to head to app/config/logging.php and add a new channel for BetterStack. This is required to send logs to BetterStack.
        'betterstack' => [
            'driver' => 'monolog',
            'handler' => Logtail\Monolog\LogtailHandler::class,
            'level' => env('LOG_LEVEL', 'debug'),
            'with' => [
                'sourceToken' => env('BETTERSTACK_SOURCE_TOKEN'),
                'endpoint' => env('BETTERSTACK_ENDPOINT', 'https://in.betterstack.com'),
            ],
        ],
You need to add this to the channels array in the logging.php config file.
Once you have added the channel, the next step is to add the environment variables in your .env file. We’ll be grabbing the values from BetterStack later in the post.
BETTERSTACK_SOURCE_TOKEN=
BETTERSTACK_ENDPOINT=
LOG_CHANNEL=betterstack # Set the default log channel to BetterStack
You might have noticed that both of these variables are empty. Let’s fill them in.
Getting Your BetterStack Credentials
- Create a BetterStack Account: If you haven’t already, sign up for a BetterStack account.
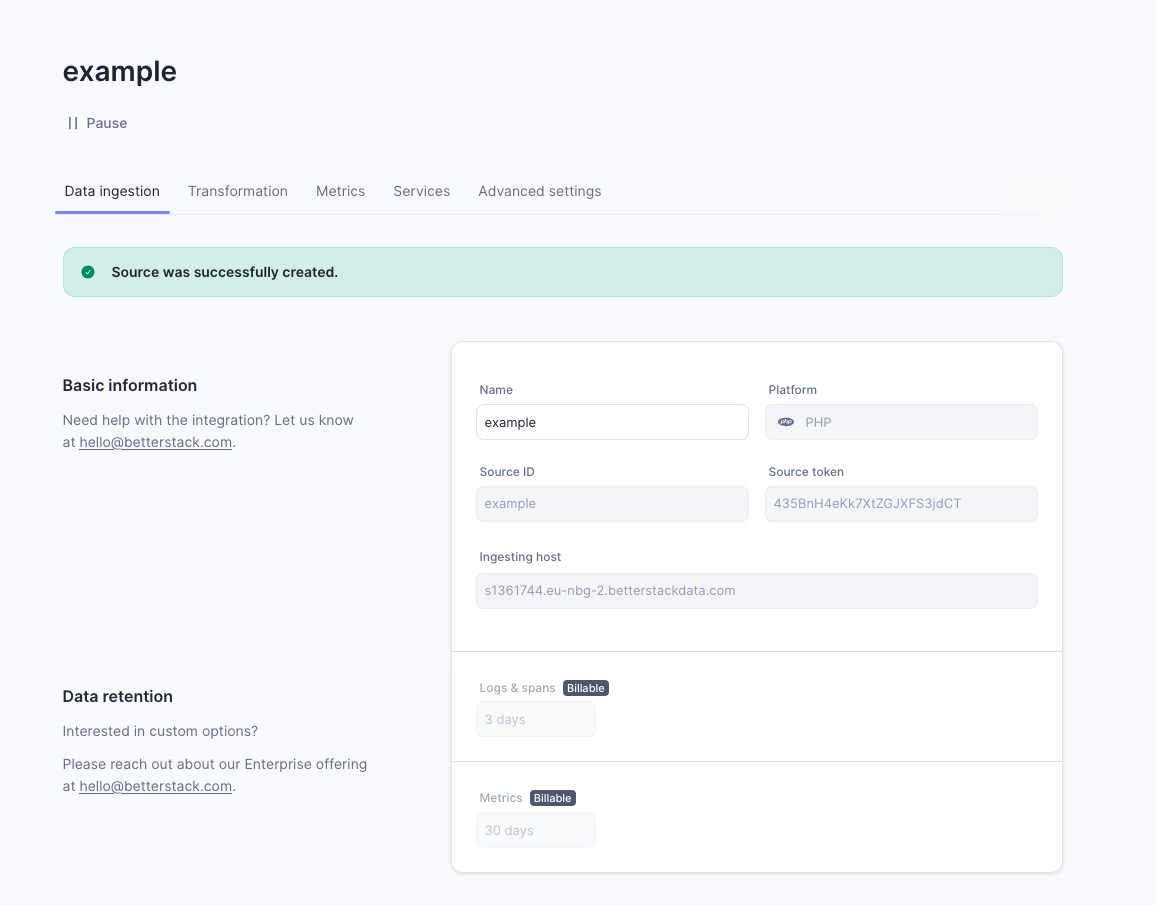
- Create a New Source: In your BetterStack dashboard, navigate to the “Sources” section and create a new source. Choose “PHP” as the log type.
- Copy the Source Token: After creating the source, you’ll be provided with a source token.
- Copy the Ingesting Host URL: The ingesting host URL is provided in the same section where you found the source token.
Copy both the source token and the ingesting host URL from BetterStack.
Once you have these values, update your .env file:
It will look something like this:
BETTERSTACK_SOURCE_TOKEN=435BnH4eKk7XtZGJXFS3jdCT
BETTERSTACK_ENDPOINT=s1361744.eu-nbg-2.betterstackdata.com
Testing the Setup
To test if everything is set up correctly, you can log a message in your Laravel application. This should then appear in BetterStack under the ‘Live Tail’ section.
Note: If you don’t see the logs immediately, it might take a few seconds for them to appear, it did for me.
If you have any questions, please email me at lewis@larsens.dev.
Thanks! Happy logging!